Often, the issue may be encountered when your computer cannot scan documents, which may be because the PC does not recognize the scanner. Other reasons to face this issue include improper cable connections, outdated printer drivers, insufficient RAM, the problem with the wireless connection, shell hardware detection service-disabled, WIA service-disabled, and others. If you face problem scanning documents on Windows 11, then know that troubleshooting this issue won’t be difficult; all you need is a correct guide to help you with that. In this article, we will discuss how you can enable scan to computer in Windows 11.
Ways to Enable Scan in Windows 11
There are various ways to enable the scan in Windows 11, which you can find in the article below-
Ways to Enable Scan in Windows 111. Connect your Scanner to PC2. Run Scanner in Compatibility Mode3. Ensure Wireless Connection is Stable4. Update Printer Drivers5. Decrease the Resolution of the Scan6. Enable Essential ServiceConclusion
1. Connect your Scanner to PC
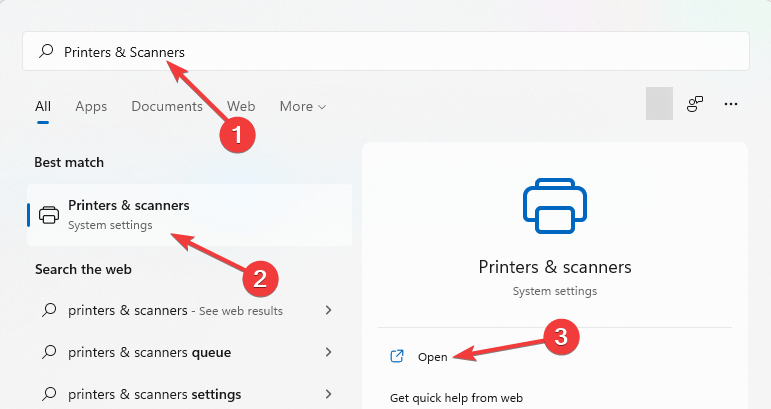
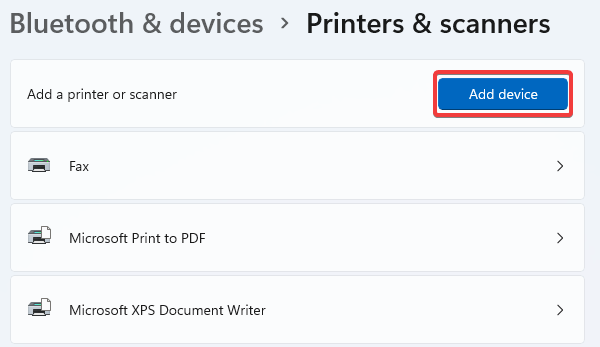
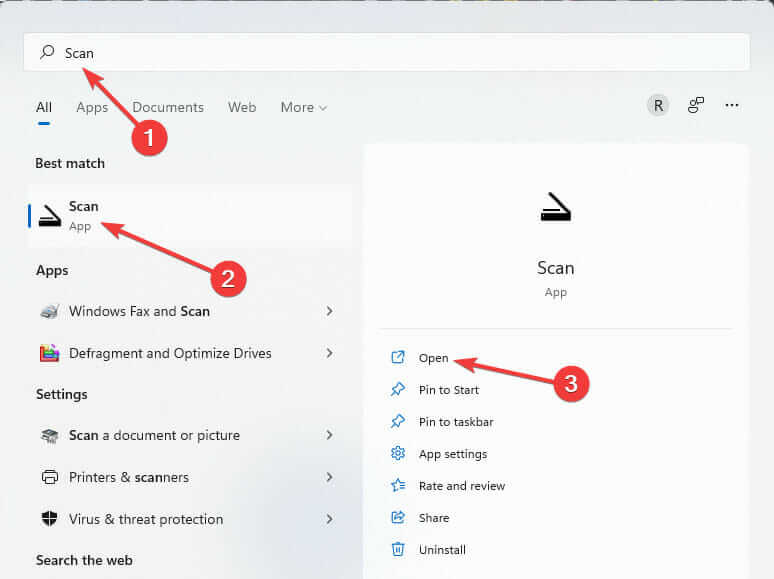
The first way to enable scan to computer feature in Windows 11 is to set up the scanner. To do so, follow the steps given below-
2. Run Scanner in Compatibility Mode
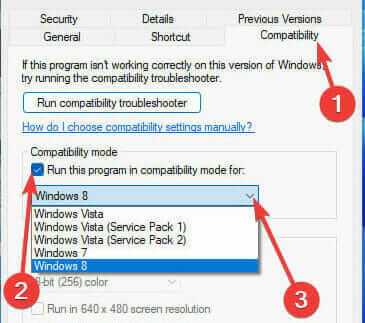
Many times the issue may be encountered due to compatibility issues. If the scanner software is incompatible with your Windows version, you will likely face this issue. You should try running the scanner in compatibility mode and then check if the issue is encountered or not. You can do so by following the steps given below-
3. Ensure Wireless Connection is Stable
If you face an issue with the wireless network, then that may also prevent your scanner from scanning documents on your PC. This issue generally occurs when you use a wireless printer. You should ensure that your printer and computer are close to Wi-Fi. If the computer and printer are in close range with your Wi-Fi but still face the issue, then you should try restarting your Wi-Fi. You can connect to another Wi-Fi network if you are facing this issue.
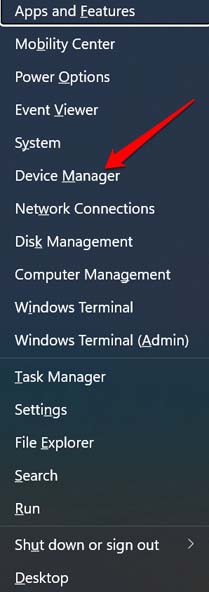
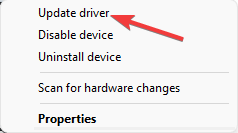
4. Update Printer Drivers
Updating your printer drivers can also help fix the issue. The steps for updating your printer drivers are as follow-
5. Decrease the Resolution of the Scan
If the user faces a scanning issue due to the device memory, they can reduce the scan resolution. This will make the file size low, and the device will easily scan it in low memory. The steps for this are as follows-
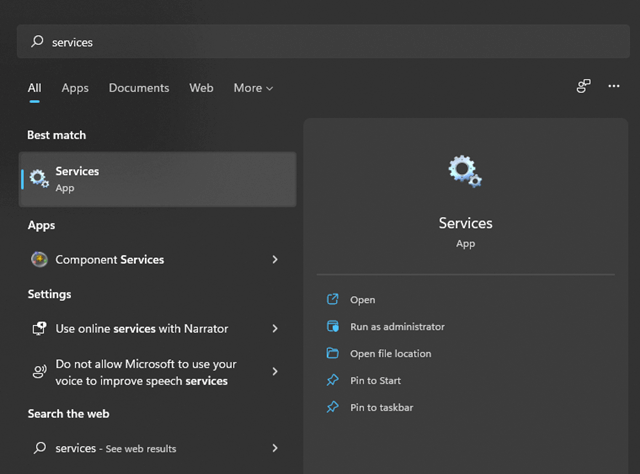
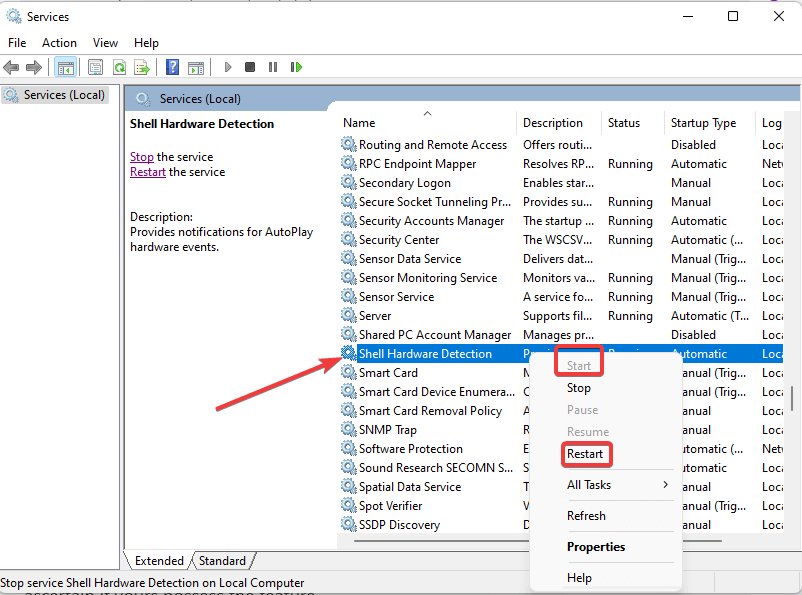
6. Enable Essential Service
If the service is not running properly, it may also cause this issue. You should try starting Shell Hardware Detection and Windows Image Acquisition service. Doing this will most probably help fix the issue. To enable these essential services, follow the steps given below- Note- The Start option will be greyed out if the service is already running. If that is the case, you must click on the Restart option. Once you do so, the issue should be fixed. You should now be able to scan documents on Windows 11.
Conclusion
Most probably, issues with the scanner are caused due to issues with drivers or when essential services are disabled. If you have been facing this issue, then the above steps will help you solve it. However, if you still encounter it, you should try checking for hardware-related issues and contact customer support of your scanner to resolve the issue.